The BEST and EASIEST Chocolate Cake Recipe
Chocolate Cake is a weakness of mine and has been passed down to my kids. I am very particular about the flavours and the level of moistness in a chocolate cake. Because of this, I have searched far and wide to get the best recipe that I could find to meet these requirements. And this is it!!! It's THE best! This is my go-to chocolate cake recipe, which is extremely easy to make and tastes even better when it's stored in the fridge.

I grew up with a chocolate cake recipe that my neighbours used to make. It contained a vast amount of oil instead of butter, and the batter was very liquidy. After being baked, this cake was sooo rich! You would see elongated holes throughout the cake that were exceptionally moist. I have since lost this recipe and I still want to cry whenever I think about it 🙈. So my mission was to find something as close to it as I possibly can.
I have tried many, many recipes; some with butter only, some with oil and butter, but this one was the one that stood out the most. It came quite close to the one that I grew up with, although still not as rich, but definitely better than the rest. I can't remember exactly where I came across it, but I have never forgotten what it entails. My 5 year old will make a request for it whenever she likes, and it can be whipped up in about half an hour since it does not include any creaming of butter, sugar and eggs. It cannot be over or under mixed and hence it cannot be spoilt!! It's foolproof! Just make sure everything is incorporated, and that you bake it at the right temperature.
You can use this recipe to make a simple rectangular cake where you just cut slices as you like - it's good just as it is, no frosting needed. But if you want to do a little fancy 2-layer cake, then this recipe works well too. I made a plain rectangular cake with frosting for Christmas to take to my in-laws last year. And boy was it a hit!! Some people commented saying that it was better than where they normally buy their chocolate cake. Imagine that!
Ingredients:
For the Cake:
1 cup boiling water
1 cup oil
1 cup milk
1 teaspoon vanilla essence
3/4 cup cocoa powder
2 cups sugar
2 eggs
2 cups flour
1 teaspoon salt
1 teaspoon baking powder
2 teaspoons baking soda
For the Frosting:
1 cup room temperature butter
4 cups powdered sugar
3/4 cups cocoa powder
Pinch of salt
2 teaspoons vanilla
1-2 tablespoons milk
Method:
Preheat oven to 350˚F.
Butter your rectangular pan ( I use a glass one), or your two 9-inch circle pans. Place a piece of parchment paper inside the circle pans to ensure that your cake comes out in one piece.
Mix flour, baking powder, baking soda and salt in a separate bowl and set aside. Ever wondered why we add baking soda and baking powder? Take a look at my note on the
LEARNING TIME:
The Difference between Baking Soda and Baking Powder.
Both are leavening agents that react in different ways to produce carbon dioxide (CO2). The CO2 gas then allows baked products to rise, thus giving them that fluffy texture.
Baking soda or sodium bicarbonate, is basically that one component. Once added to your ingredients that contain some sort of acid, the reaction to produce carbon dioxide starts immediately. Baking Powder contains sodium bicarbonate AND 2 acid components. One reacts with the sodium bicarbonate when it's wet, while the other reacts when it is wet and hot. So as the batter bakes, it causes more leavening since the reaction progresses with the hot temperature in the oven.
Wow- Flashback to Reaction Kinetics class in UWI! Speaking of chemical reactions here surely brings back some chemical engineering memories .
Place the boiling water in a measuring cup. Add cocoa powder and whisk, making sure all is dissolved. Place this mixture inside of your mixing bowl.
Add the oil and milk, and mix until combined.
Add the eggs and vanilla and mix well.

Baker’s Tip:
Always crack your eggs in a separate bowl, one
at a time. This helps when you get a bad egg, or shells. I usually crack one and add to the mixer, then crack the other while that one incorporates.
Add the sugar and continue mixing for about 2 minutes. Put the mixer on low and add all of the dry ingredients. Make sure it's on low to prevent the flour from flying everywhere. Stop the mixer, and scrape down the sides and bottom of the bowl. Continue mixing for a further 5 minutes. Take a look at the video below which shows the consistency of the batter at this point.
Bake for 30-35 minutes or until done. Test if it's done by placing a toothpick in the centre of the thickest part of the cake. If it comes out clean without any batter sticking to it then it's done! This cake can be stored in an airtight container in the fridge for up to 7 days. It tastes great cold, or you can warm it for 10 seconds in the microwave.
Let the cake cool completely if you are going to frost. If not, then go ahead and cut a slice while it's warm....Add some ice cream and you have just taken it to another level 🙌. This warm cake absorbing the melty ice cream is plain heaven!
Pour batter into your desired pan or pans.

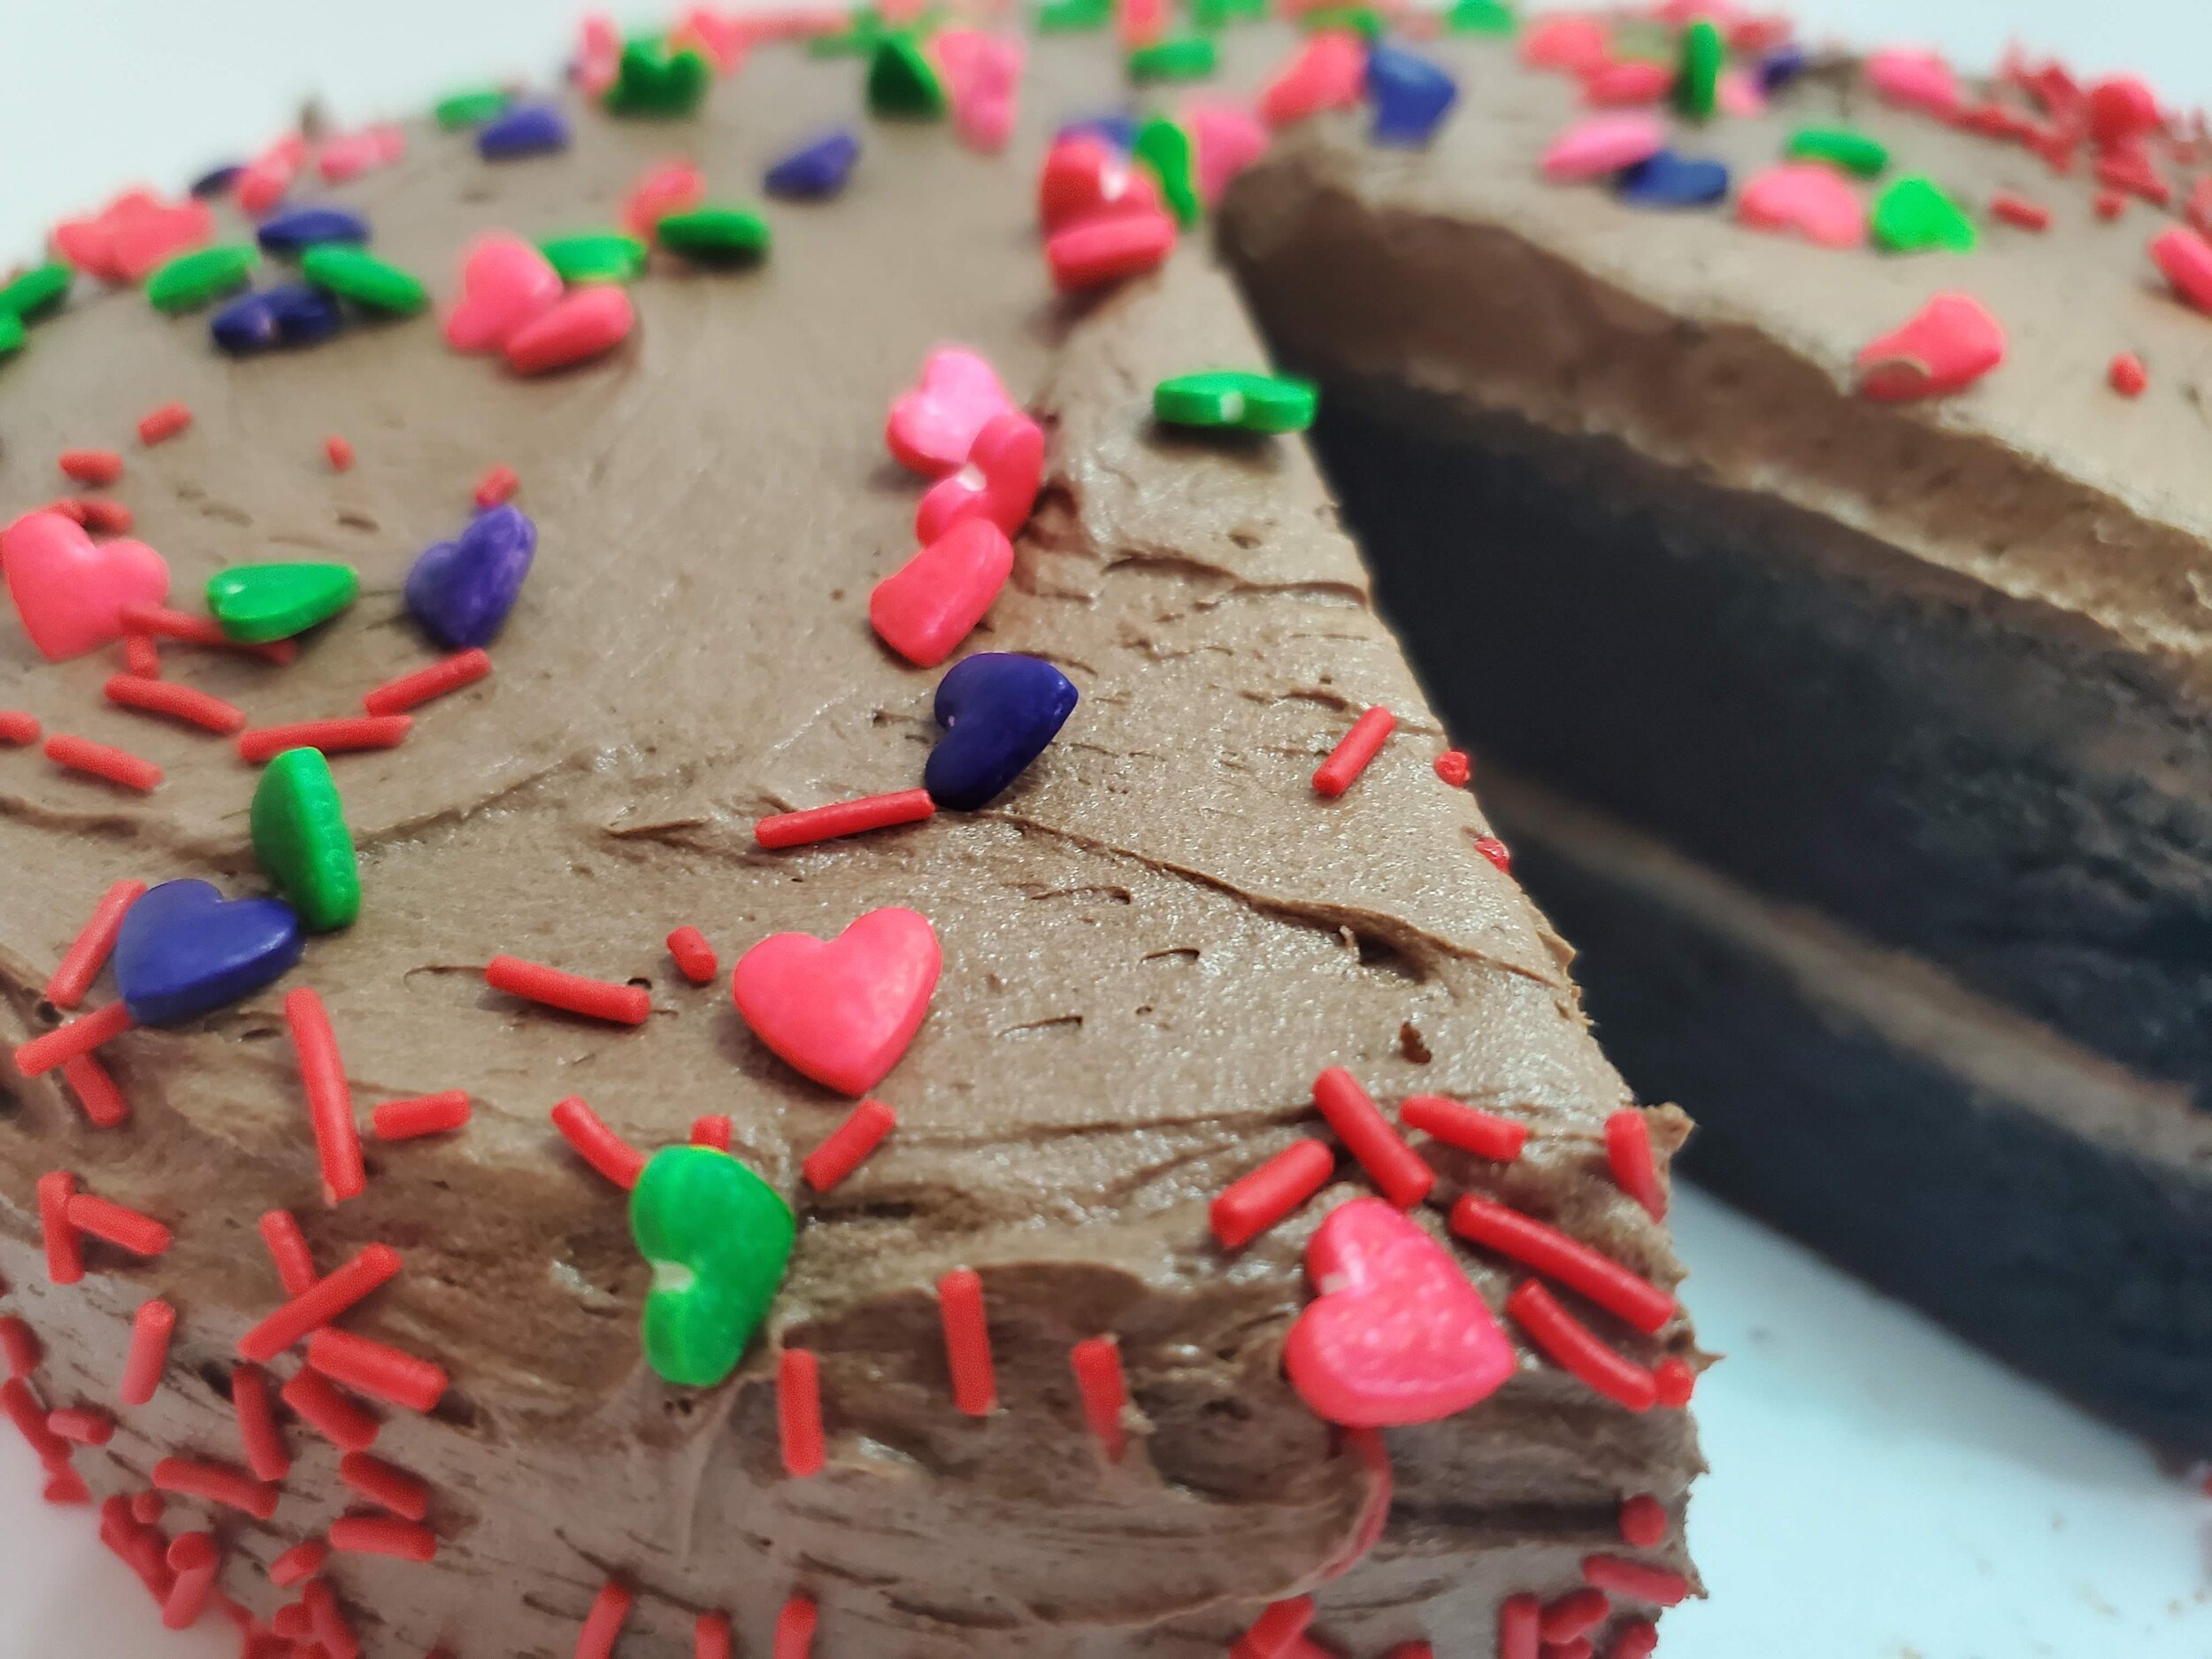
Slice from my rectangle cake with frosting 😋. Care to indulge?
Make the Frosting
Whip the butter in a mixing bowl.
Mix the cocoa powder, salt and the powdered sugar in a separate bowl.
Put the mixer on low and add the powdered sugar/cocoa powder mixture in 1/2 cup increments, making sure it mixes through. Scrape down the sides whenever necessary.
Add the vanilla and 1 tablespoon milk and mix well. If you like this consistency, then go ahead and frost your cooled cake with it. If you prefer it a little thinner, then add 1/2 tablespoon of milk; add 1/2 tablespoon more is desired.
Rectangular cake- I usually just leave the cake in the pan and slather on the frosting. Any remaining frosting can be stored in the fridge in an airtight container.
Fancy 2 layer cake- Remove the first cake from the pan and place on a wide enough plate. Spread about 1 cup of frosting. If this does not cover the whole top, then add a little more. Go right ahead, you can never have too much frosting right😉? Place the other cake gently on top of this layer. GENTLY, with no pressing at all. I like to use an offset spatula to frost the sides first, then the top. Next step is to cover with sprinkles or chocolates, or just leave it as is.